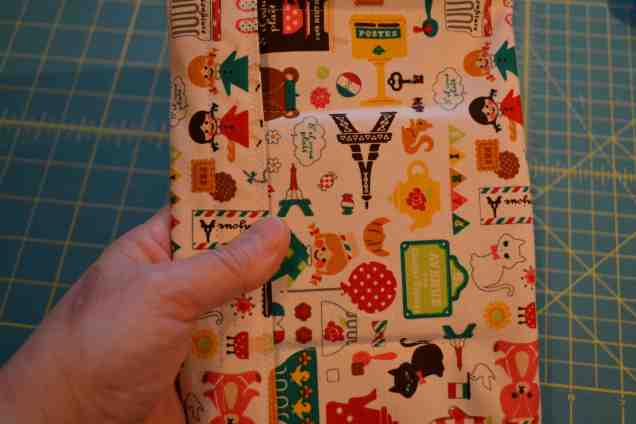
Browsing Pinterest for any fun travel sewing (something fun to saw for our summer trip) I found a lot of ideas for passport wallets. In all of our travels I’ve always just put the passports with a rubber band in (any) zippered bag. It worked just fine actually, but looking at some cute fabrics and great projects I thought I should make one. Why not! Right? If you travel, you can make and sew whatever you think you might need. Because… you just might need it!
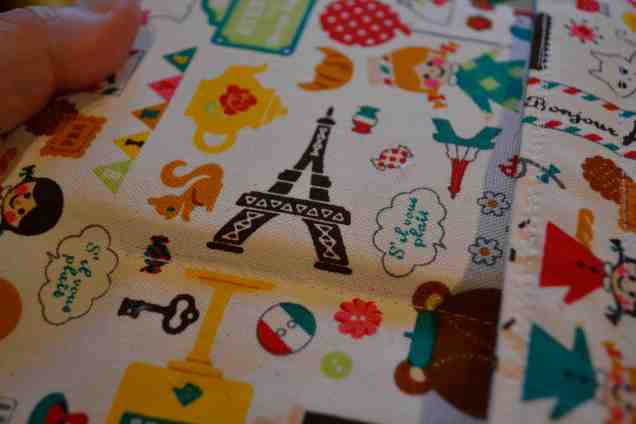
I had bought a cute fabric at the store last time I went, with a little heavier weight than the quilting cotton. (Not sure the name of that fabric. I am not very fabric/sewing savvy since I am just teaching myself as I go along.)
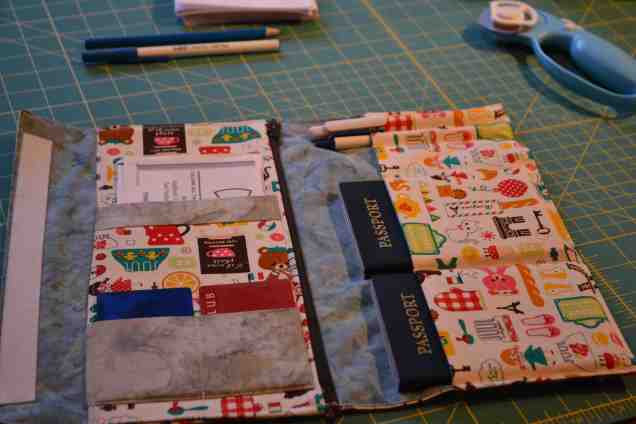
I wanted a place to keep all 4 passports, some cash (a pocket with a zipper), the extra credit card, a pen (to fill out the forms when you are about to land in a new place), and the tickets.
So I looked at how to put a zipper online. This page was pretty helpful and so was this one and this one. But then I realized I probably need to be more specific, because I want to put a pocket inside this fabric wallet (with a zipper!) So I google “how to sew a zippered pocket” and Sew Mama Sew has a nice tutorial. But what I really need is a video on how to do it. So I searched again and I found this video.
Having all this information in my head now, I ended up figuring out by myself how to do the zipper for my wallet. Because the one I made was a combination from this design from thimble and this one from an Etsy store.
So here’s what I did.
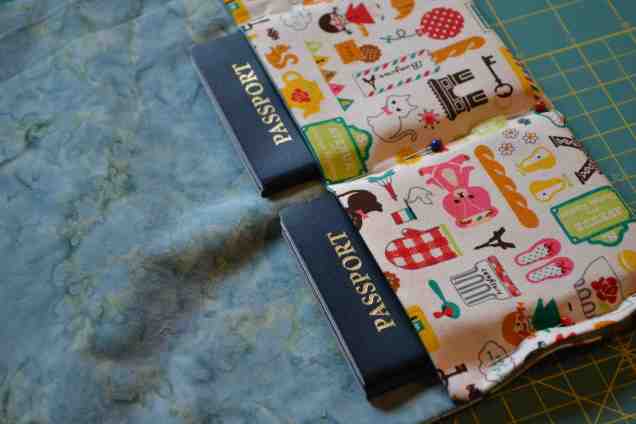
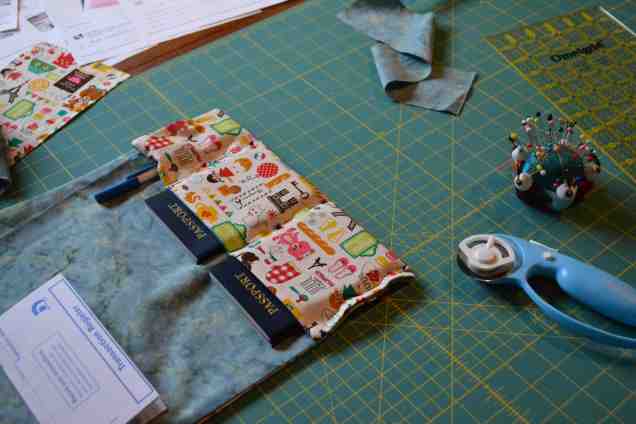
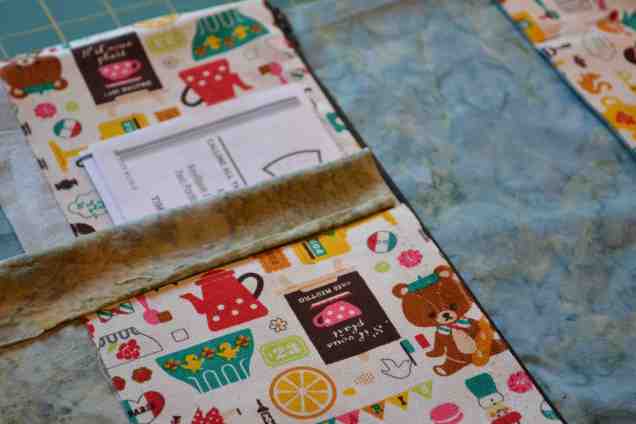
I laid the fabric and a lining fabric and put the passports and the tallest piece of paper I would have (printout of the tickets) to figure out the size. That was the height of the wallet and the passports (laid out how I wanted them) gave me the width.
It kind of scares me to have all the important pieces of identification and (extra) credit card and cash in one place, but I think it might be easier to keep track of ONE thing with the important stuff, than a couple of smaller bags.
I also liked the one design from Blissful Patterns that had space for a pen. So I put two pens, because I figured that way, Mark and I could both fill out the forms when we need to and I’m not scrambling between my purse, the backpack and any other spot for a second pen.
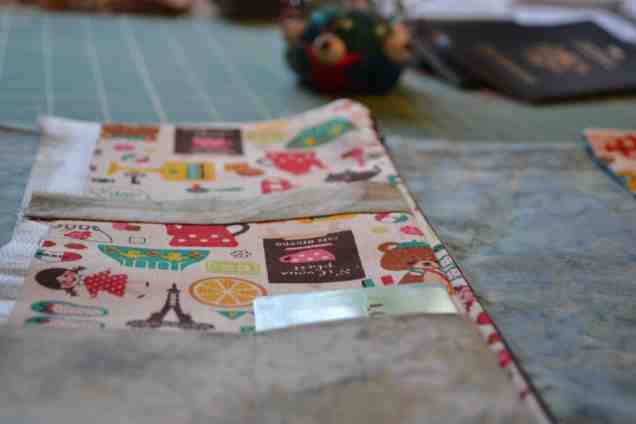
I made the space for the passports tight. So two passports fit in each pocket, and it’s tight enough that they won’t fall off.
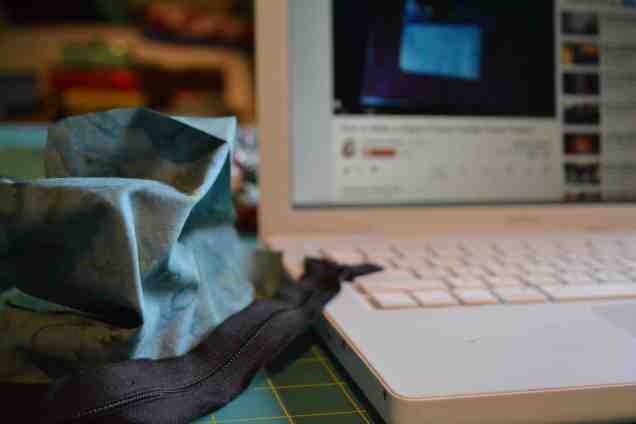
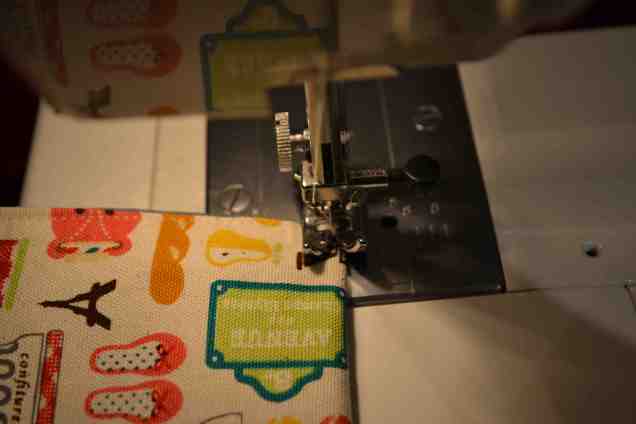
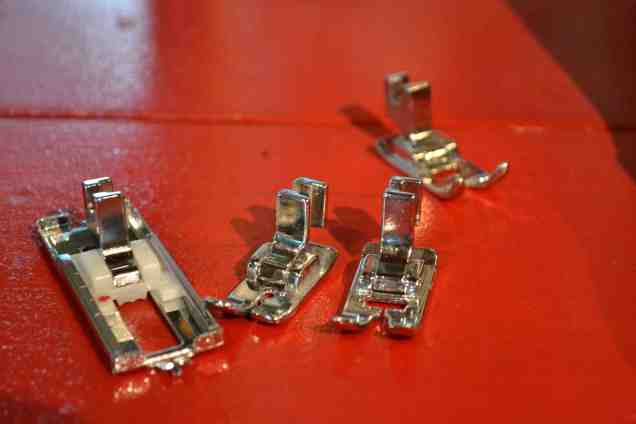
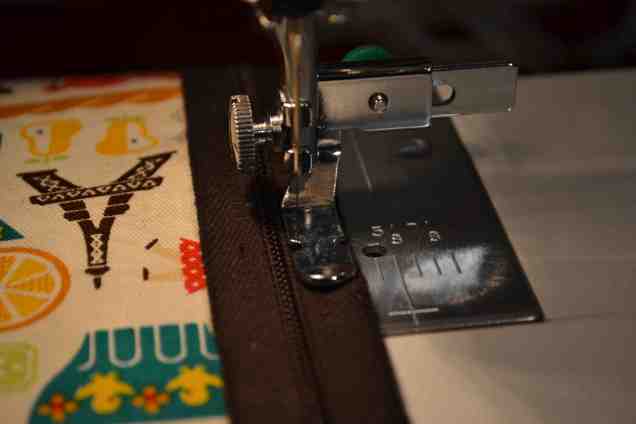
To learn to put the zipper, after few videos, I had to figure out what was the zipper foot for my 20-year old sewing machine. But I think I figured it out.
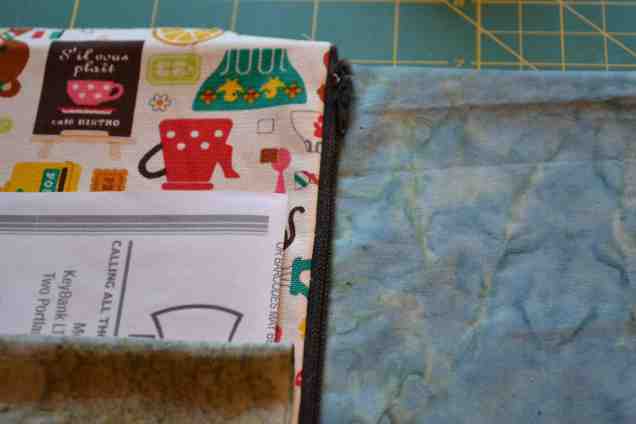
Oh… the zipper looks so pretty!
If I say so, right?
I am so proud of my passport wallet. I think it looks cute. I love the fabric, I love that I figured out what I wanted, what I think we need.
And also, because I learned to put zippers. This is the second time in my entire life (I know!) that I’ve sewn a zipper, and this is the first one that is pretty much straight. Yay! (And I think now I know which one is the zipper foot of my sewing machine. I think I used the right one.)
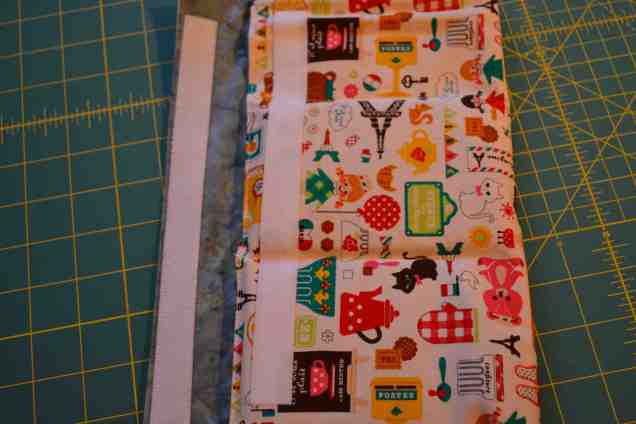
It closes all with a velcro.
Now, everyone is afraid that I will start sewing only with zippers. And they might be right. So watch out zipper foot of my sewing machine! You’ll get some work now after 20 years of sitting pretty in that little box in my sewing machine. About time.
